null

'Home Plus Deals Delivers Premium Quality without the High Price Tag'

Removing Nasty Gunk from Your Exhaust Fans

Removing Nasty Gunk from Your Exhaust Fans

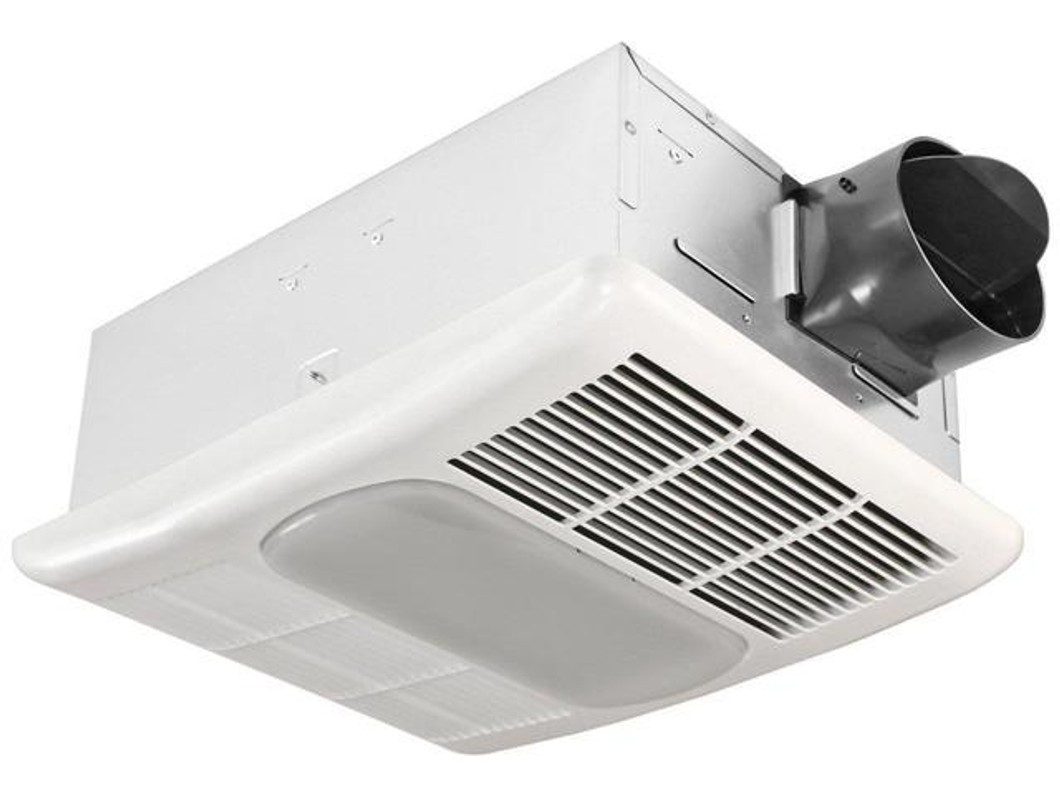
Exhaust fans are located in places of your home (kitchen and bathrooms) where their job is to remove humidity, grease, smoke and offensive odors. So can you imagine what happens to these fans over time? That’s right, they get gunked up with some REALLY NASTY stuff. And if they are not cleaned regularly, they can breed mold, begin to smell, and stop your fans from working very efficiently. Just vacuuming or cleaning the outside isn’t enough. Here are the steps that we recommend to thoroughly clean your exhaust fans:

FIRST...

  • Turn off the Power Source

Before you start cleaning your exhaust fan, it is very important to ensure that the power to it is turned off. Rather than just turning off the switch, we recommend that you also find the circuit-breaker for your fan, and make sure it is turned off there at the source. You definitely do not want any chance that the fan could accidentally be turned on while you are working on it.

NEXT...

  • Clean the Cover

The next thing that you want to do is pull the cover off of the exhaust fan. This may take a screwdriver to remove some screws, or your unit may have clips. Once you take the cover off, you will want to soak it in warm water with dishwashing soap. Make sure that you use something to scrub the places that are hard to reach, to be sure to get out all of the built up gunk.

THEN...

  • Unplug the Fan Unit and Clean It

Once the cover is off, you can then get to the fan unit. You should be able to unplug or unhook the fan, and then you will want to set it down on paper or cardboard, to prevent any dirt, grease or cleaning fluid from getting onto your table. Once it is removed, spray a light cleaner on the fan blades and housing. Gently wipe the blades down with a soft cloth or paper towels. Be careful not to bend the fan blades and not to shift the blades on the rotor shaft while you are cleaning the blades.

NEXT...

  • Use a Vacuum for the Enclosure

With the fan out, you can now vacuum out the enclosure. You want to use a small vacuum attachment so that you can get it in there and really clean it out (helpful accessory: handheld vacuum). The further your vacuum attachment can get in, the better. But be very careful not to push too hard with your attachment, as you could knock loose or damage the vent piping.

THEN...

  • Put the Unit Back Together

Once all the dust and dirt is cleaned out, you can then put the unit back together. Just reverse the steps you took to disassemble your exhaust fan. When it is all put back together, you can then turn your circuit-breaker back on.

AND FINALLY...

  • Check Outside Flap Vent

As a final step, you will want to check the vent on the outside of your home where your exhaust fan discharges. Check to be sure that the flap covering the vent is clean and swings easily. If it is getting stuck open, then you can be losing heat or air conditioning from your home, and it also creates a place where pests can enter your home.

SUMMARY


In the case of exhaust fans, out of sight should not be out of mind. When you think about the environment that your exhaust fans work in, it is not surprising that they are going to become a breeding ground for some really nasty stuff. We hope this article has helped you understand how to thoroughly clean your exhaust fans. If you are uncomfortable doing this kind of task yourself, then you may want to include it on your next list of projects for your handyman service.
Jul 3rd 2018

Recent Posts